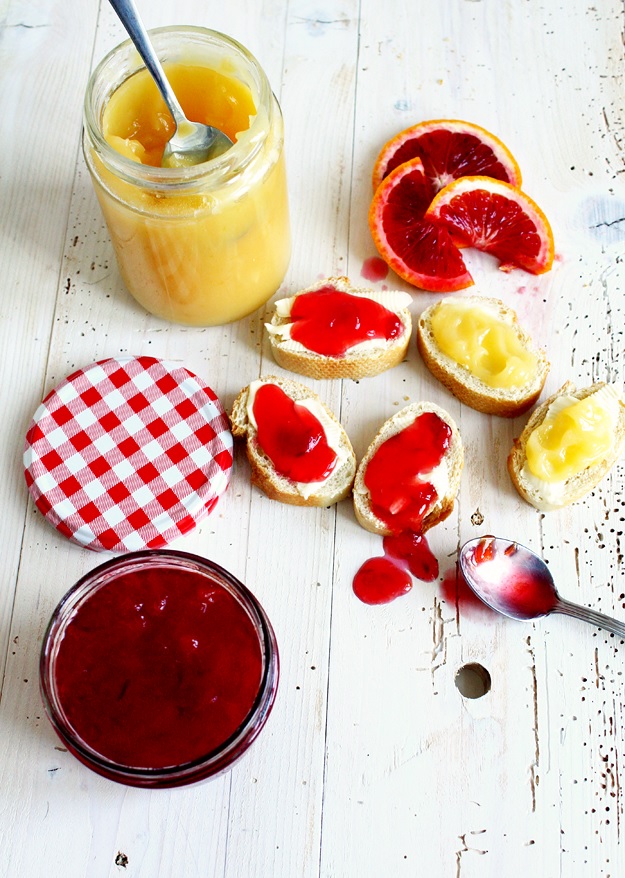
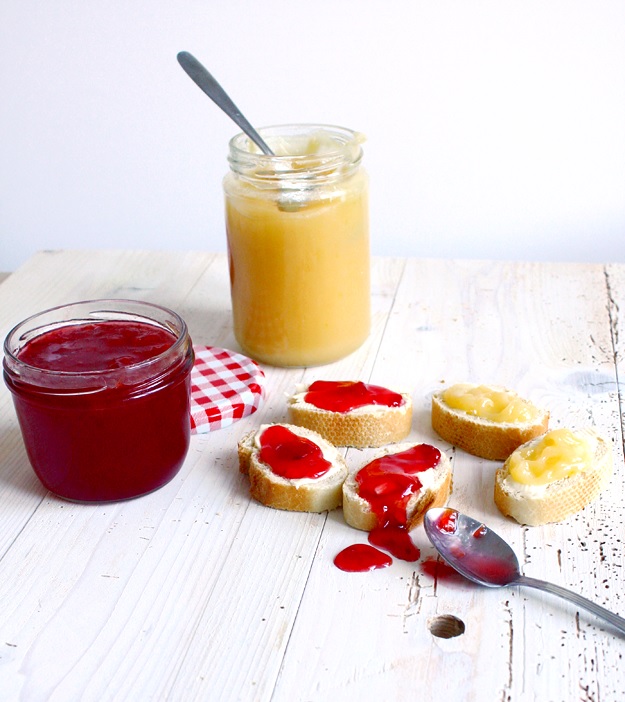
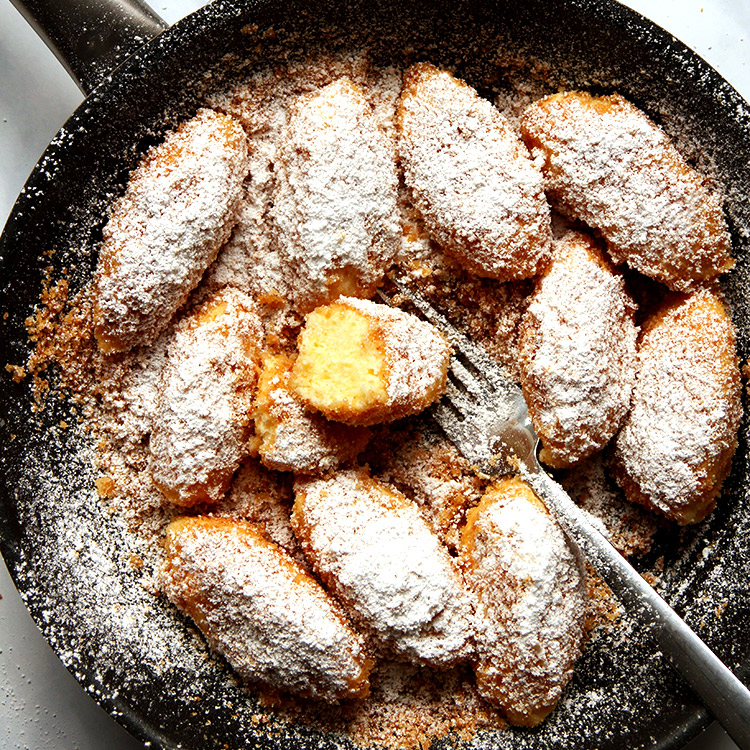
Lemon Curd together with Blood Orange Jam (recipe here).
Here is a classic you don’t want to miss for breakfast: Lemon Curd. And I’m talking about a lemon curd with the perfect balance of tangy and sweet. Many recipes are just using egg yolks for making lemon curd but I think adding both, whole eggs and yolks, makes a lighter, more lemon like, less rich and less eggy curd.
Most of the times, I eat this treat for breakfast, just like shown on the picture above. I spread it onto a slice of baguette with unsalted butter – yummy. But it also tastes great when spread on a pavlova, topped with whipped cream. Sometimes I even use it as condiment for soft cheese like Brie or Camembert.
I usually prepare lemon curd over a bain-marie, but most people just use a heavy bottom saucepan. Both works fine. The only thing you really have to pay attention to, is not to overheat the curd, otherwise the egg will curdle. The mixture should never be boiling. I always heat it over medium-low heat, so the water pot of the bain-marie is simmering lightly. The first time I made this curd I was overly careful and it took about 30 minutes to get the curd to the right consistency. Now, it usually takes me 15 minutes to get a curd that has thickened enough to coat the back of a wooden spoon. Speaking of wooden spoons …
Wooden spoon or rubber spatula?
Usually I am a huge fan of the old, wooden cooking spoon. But I have to admit, when making curds like this I have a very clear favorite: rubber spatulas. Their flexible heads are great for effective scraping.
Wooden spoons on the other hand are great for many other things, like stirring soups, but with their round shape, they simply don’t fit into the corners of a straight-walled saucepan. Even if cooking over a bain-marie with a bowl on top, frankly without the corner issue, I prefer flexible spatulas. Why? Because it’s almost impossible to make contact with a large surface of the pan bottom, and that’s the second drawback. Unfortunately, for curd that’s exactly what you need. They just give you a better contact with the bottom and corners, so the curd isn’t scorching. And never forget stirring consistently!
Nothing else to say here, except: Enjoy!
PS: The recipe for the blood orange jam will follow as soon as I have figured out a proper substitute for jellying sugar I would use in Austria. After that and a re-testing session with the new ingredient. German speaking readers can find the recipe here.
Update 28/3/2017: It took me a while but now you can find the recipe for this awesome blood orange jam with Aperol here.


Ingredients
- 1 large egg
- 1 egg yolk
- ¾ cup + 2 tablespoons white granulated sugar (190 g)
- ½ cup lemon juice, sieved (about 3 lemons)
- 1 teaspoon lemon zest (from 1 organic washed and dried lemon) *
- 4 ½ tablespoons cold, unsalted butter, cut into pieces (60 g)
Instructions
- Break 2 eggs (less one egg white) into a bowl. With a spoon, carefully remove the chalaza (the white cords attached to the yolk). If you don’t remove them, they will probably curdle later.
- Beat the egg yolk and egg until well blended and lemon yellow in color.
- Pour the beaten eggs into a metal bowl (for a baine-marie) or a medium-size heavy sauce pan, then add lemon juice and sugar, stir to combine.
- Cook over medium-low heat, stirring constantly with a rubber spatula, for about 10-15 minutes. Make sure to stir sides and bottom of pan and the mixture is not boiling.
- If you are doing this in a baine-marie, the water in the pot should simmer slightly - the process can take between 15 and 30 minutes. Don’t put the heat up to hurry the process as the eggs will curdle.
- Cook until the mixture coats the spatula. Remove from heat.
- If you do notice some curdled egg bits, press the curd through a sieve with a spatula. If you think you did fine, without any visible “scrambled eggs”, skip this step.
- Add the cold butter pieces and stir until the consistency is smooth.
- Zest the lemon with a fine grater, right into the curd. This way the pieces spread best and don’t stick together. Stir until well-blended.
- Transfer to clean jars. I prefer several small ones.
Notes
* If you zest your lemon in advance, make sure that the tiny zest pieces don’t stick together. Only use the yellow part - the white pith just beneath is bitter. I zest the lemon just when needed, right into the curd with a fine grater. But for that you will need an extra lemon (not possible with the squeezed ones).
Did you follow this recipe? You could share your result here. All you need to do is take a picture with your smartphone and send it to [email protected]
Hi! Thanks for dropping me an email about your breakfast post! I love it and it sounds so simple yet delicious to have it on baguette with butter :) This week, I featured your lemon curd. You can find my favorite recipe roundup here.
Great!!!
Lemon curd is so delicious. I should really get on making this! x
Hi Trisha,
thanks, and yes, lemon curd is a real treat ;-)