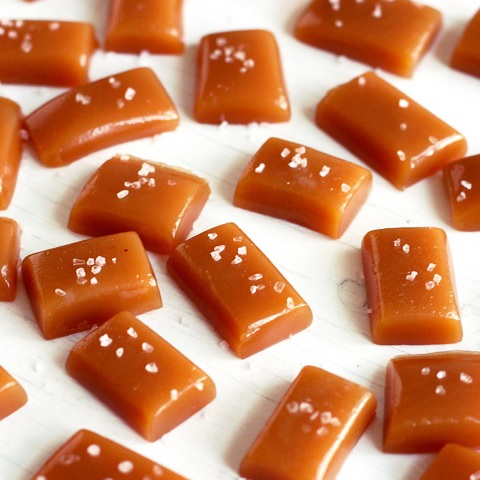
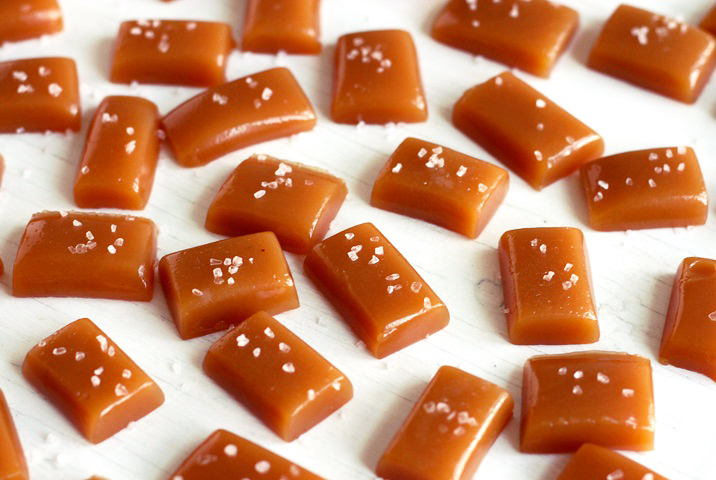
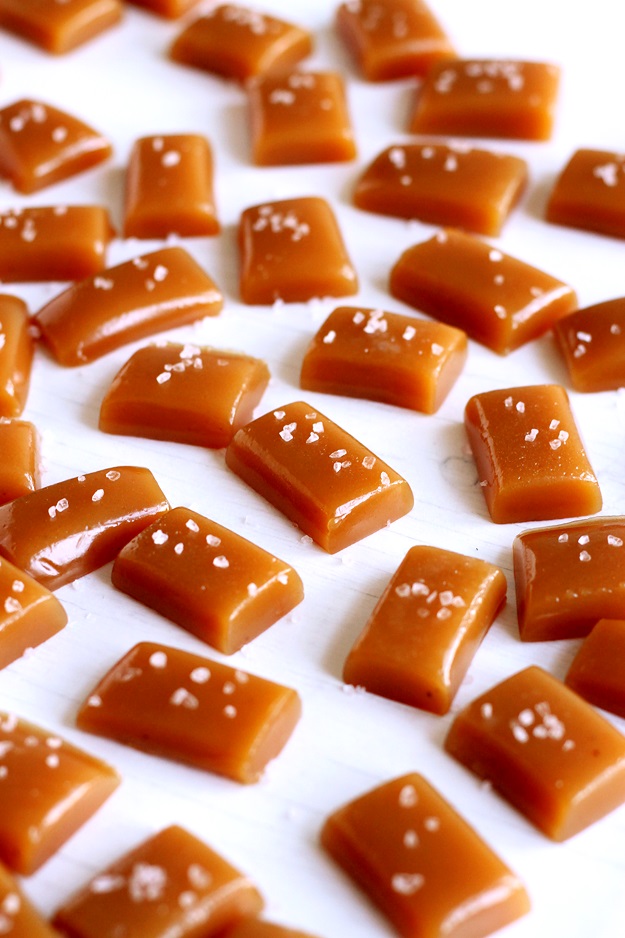
These apple cider caramels are simply amazing! They are chewy and soft at the same time and boast intense apple flavor. I always sprinkle some coarse sea salt ontop – it pairs so well with the sweet caramel. Simply deeellllliiiiicccciioooouussss!!!
You will find apple cider everywhere right now here in New England: at restaurants, farmers markets and of course at every supermarket. Btw, I am talking about soft apple cider without booze. I always thought of Austria as a nation of cider drinkers but New England would teach me better.
In Austria, I’ve never noticed soft cider being sold at supermarkets (only the grown up version) – you would only get it at farmer’s markets or at farm-gate sales. Or, in my case, freshly made by my parents from apples (and pears) of our little orchard.
I only used to like cider freshly pressed. After one week or so, you could taste the starting fermenting process that would transform soft cider into hard cider over time.
Therefore, the time where I would drink that delicious freshly pressed juice was always pretty special. Except for the work we had to put in before pressing the fruit: gathering the apples from the ground. If somebody asks me if I want to come along for apple picking, which is a big deal here in Massachusetts, I always refuse. Yes, still….
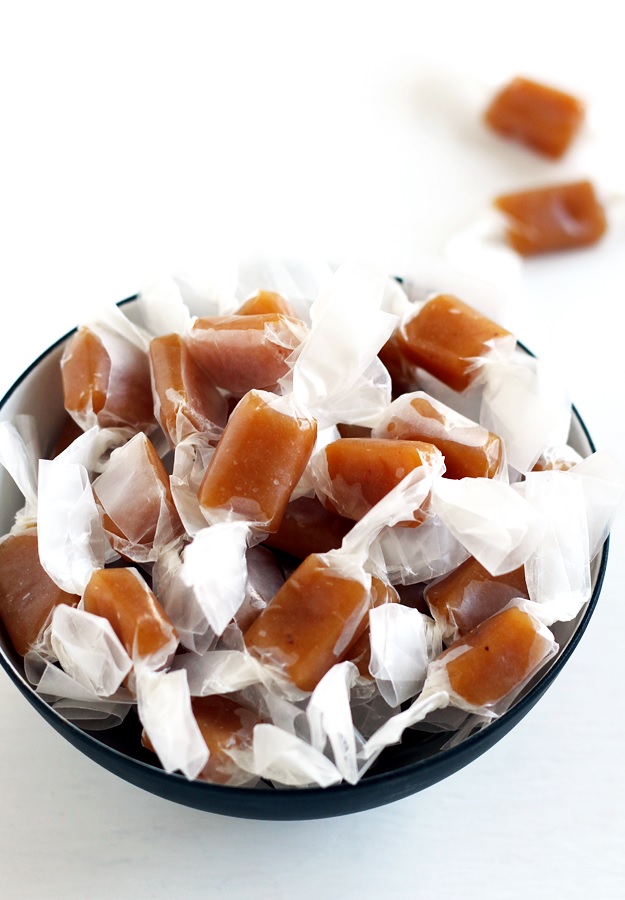
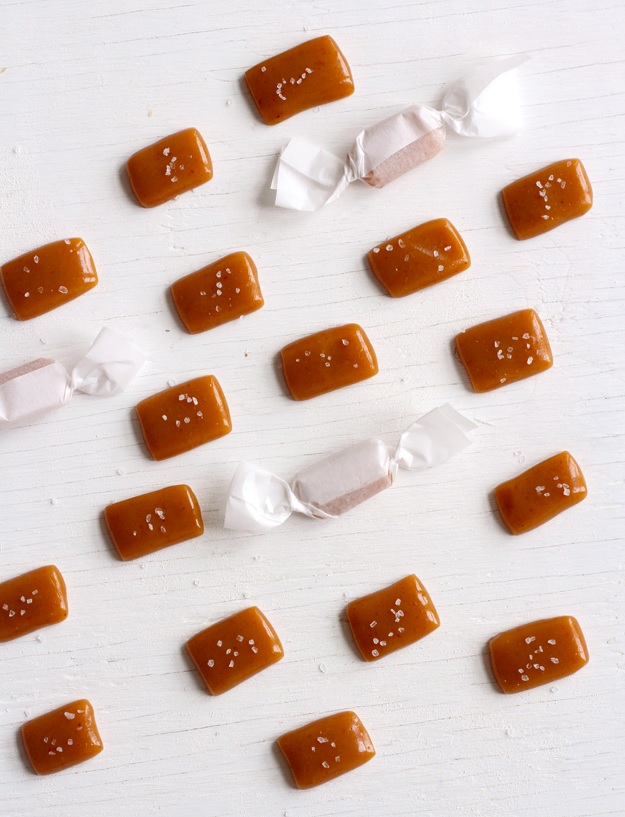
Apple cider caramels, wrapped in wax paper (not sprinkled with salt).
A few days ago, I stumbled upon a recipe from The Smitten Kitchen cookbook for apple cider caramels which I had bookmarked over a year ago. Just felt the right time to give it a try.
But as always, I ended up adapting the recipe so much (yes, I always seem to know better, even better than famous and very talented chefs), that my recipe is rather inspired by, than adapted from Smitten Kitchen. I substituted whole cinnamon for ground – but that’s up to you – and added cloves and nutmeg. Additionally, I reduced the amount of cider, butter, sugar, and salt. In the end, I only kept the amount of heavy cream.
I am sure you will enjoy them as much as I do! Keep in mind that they are a great edible gift – so you can always double the amount or make another batch ;-)
Recipe for Apple Cider Caramels
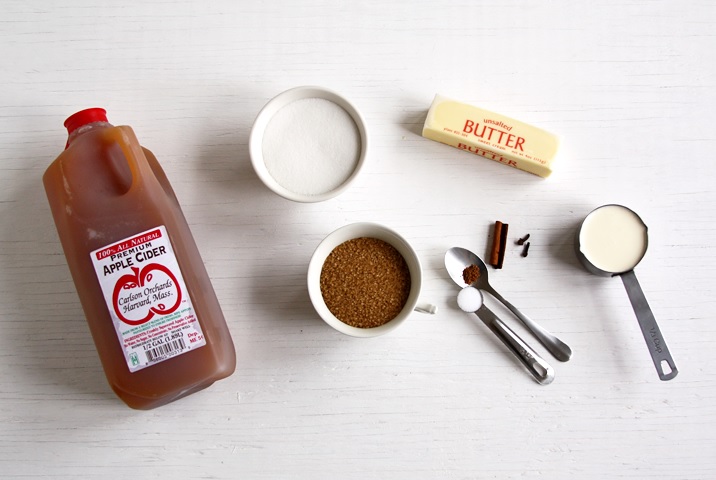
Ingredients for Apple Cider Caramels: Soft cider, white and brown sugar, unsalted butter, heavy cream, cinnamon, cloves, salt and nutmeg.
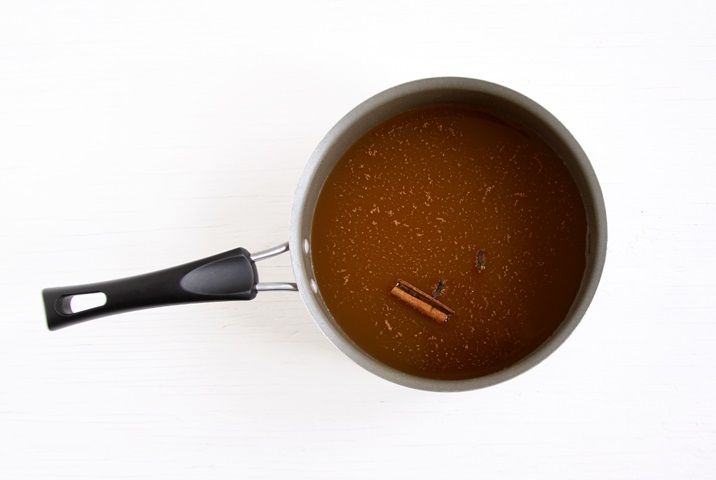
Boil the apple cider with cinnamon, cloves and nutmeg in a 3-quart saucepan over high heat …
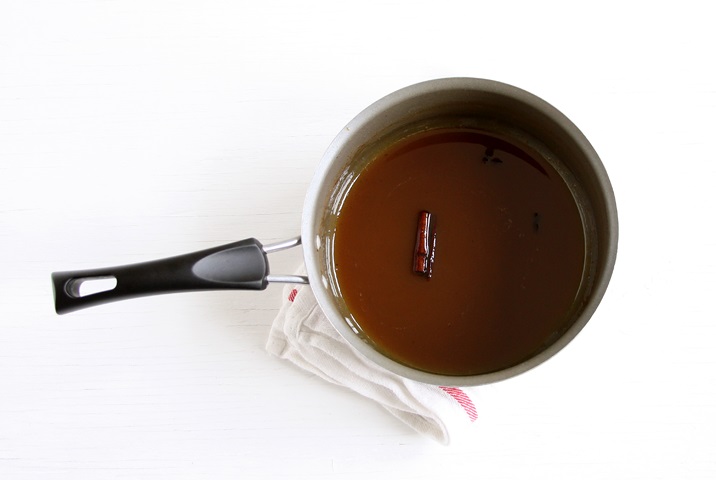
… until it is reduced to a thick syrup.
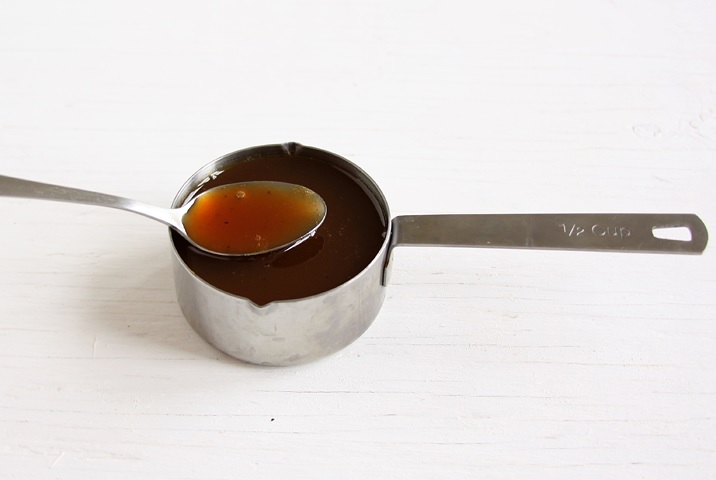
The cider should be reduced down to 1/3 to 1/2 cup in volume (100 ml).
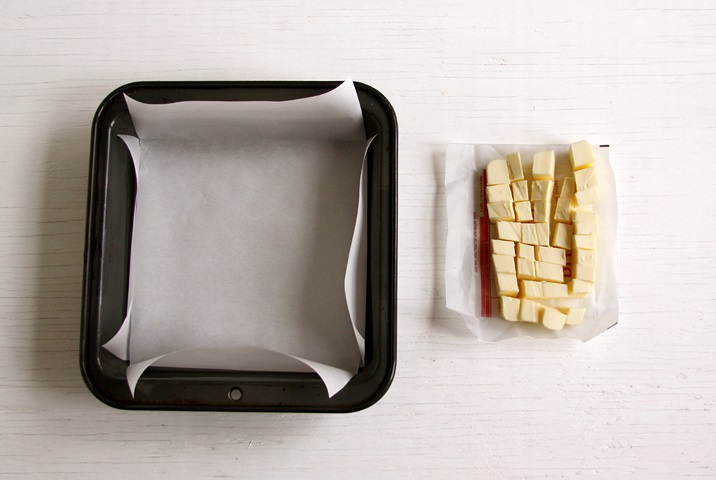
Line an 8-inch straight-sided square baking pan with 2 sheets of parchment. Cut the butter into chunks (1-inch cubes are good enough).
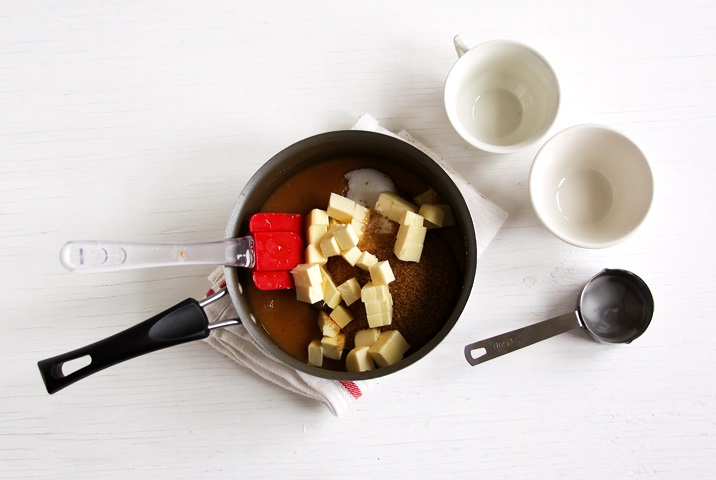
When the apple cider is reduced, remove it from the heat and fish out the cinnamon stick and cloves. Slowly stir in the heavy cream until well combined, then stir in the butter, sugars, and salt.
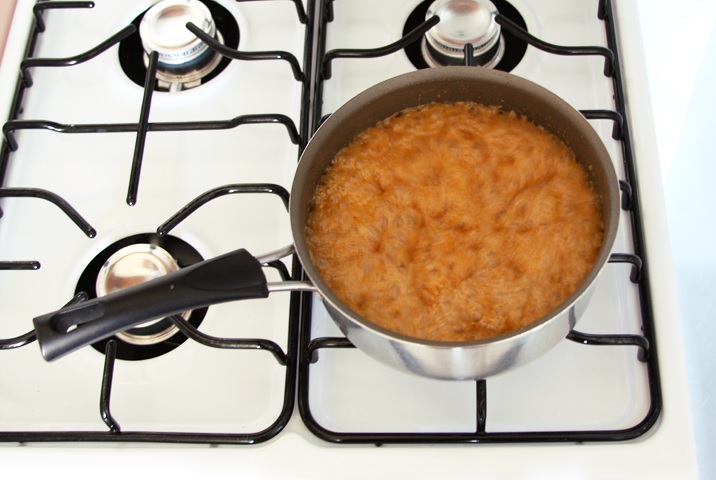
Return the pot to medium heat and let it boil, stirring often, until mixture reaches 250 °F (122 °C) on a candy thermometer. Keep a close eye on it. Once it boils and the liquid bubbles and starts rising, it takes between 3 and 5 minutes on my stove to reach the desired temperature.
If you don’t have a thermometer cook the caramel until a tiny spoonful dropped into ice-water becomes firm but still able to be plied into a ball. If the caramel doesn’t reach 250 °F, it will stay soft (you can still use it as a spread, yummy!).
On the other hand, if you cook the caramel beyond 250°, it will get firmer the higher the temperature gets – up to a point where it is impossible to cut. Have I mentioned how handy a thermometer is?
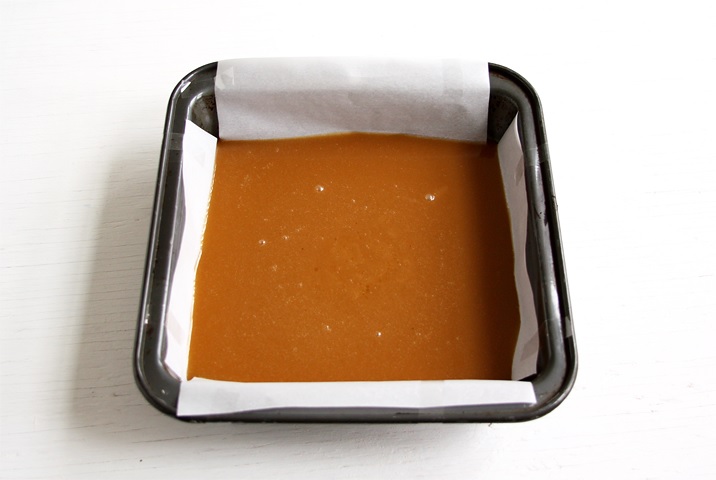
Remove caramel from heat, stir it for 30 seconds to get rid of the bubbles and pour caramel into the prepared baking dish. Allow to rest at room temperature until caramel is set – about 2 hours (or faster in the fridge).
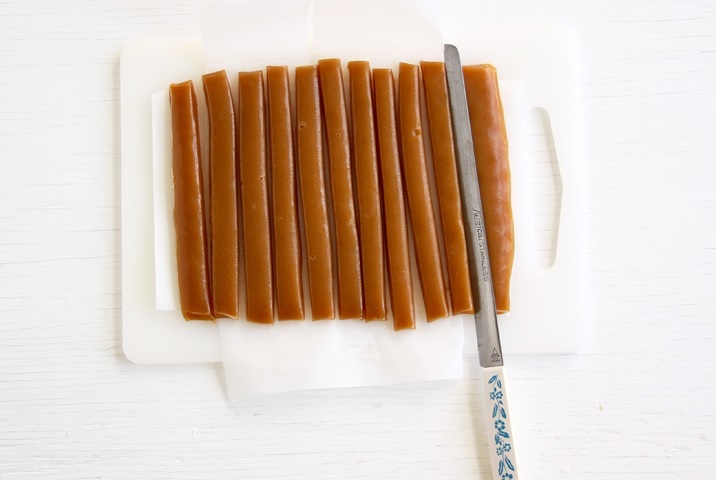
Transfer the block to a cutting board, using the parchment paper sling. Oil a knife and cut the caramels into ½-inch stripes with a little space between them (they stick together easily). If the caramel sticks to the knife, put the block into the fridge for 10-15 minutes (or pop it into the freezer for 5 minutes). I find the carael easiest to cut when cold.
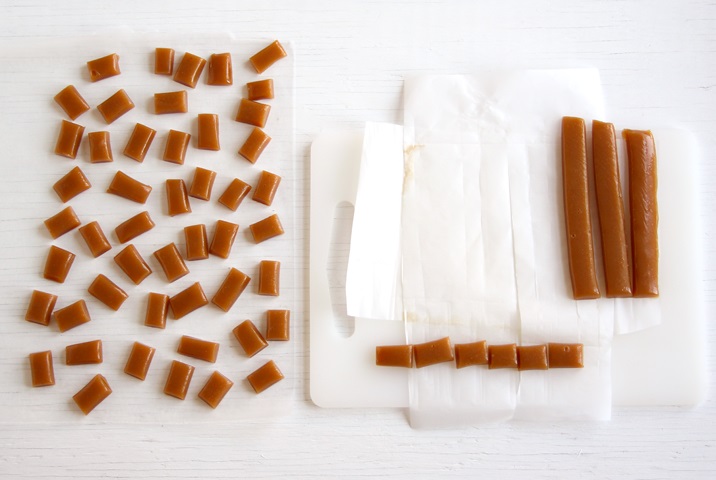
Cut each stripe into 0.5 to 1-inch pieces. Sprinkle with coarse salt if you like and wrap each caramel in wax or parchment paper. When stored longer, the salt tends to dissolve. So if you plan to wrap them, I’d suggest to omit the salt.
If you don’t want to wrap them individually, you can store them in an airtight container with a slip of wax or parchment paper in between. I tend to store the container in the fridge since I like the caramels to be chewy and not too soft.
Enjoy!
Recipe inspired by The Smitten Kitchen cookbook.
These apple cider caramels are simply amazing! They are chewy and soft at the same time and boast intense apple flavor. I always sprinkle some coarse sea salt (fleur de sel!) ontop – it pairs so well with the sweet caramel.
Recipe: Ursula | lilvienna, inspired by Smitten Kitchen
Ingredients
- 3 1/3 cups (800 ml) apple cider (without alcohol)
- 1 small stick cinnamon (1.5 inch/4 cm or 1/4 teaspoon ground)
- 2 cloves
- 1/8 teaspoon nutmeg
- 7 tablespoons (100 g) unsalted butter
- 2/3 cups (150 g) granulated sugar
- 1/2 teaspoon fine salt
- 2/3 cups (150 g) packed light brown sugar
- 1/3 cup (80 ml) heavy cream
- Flaky sea salt or fleur de sel, for topping (optional)
- -------------
- In addition:
- 3 quart pot/saucepan
- Candy or deep-fry thermometer (recommended)
- 8-by-8 inch baking pan
- Parchment paper
Instructions
- Boil the apple cider with cinnamon, cloves and nutmeg in a 3-quart saucepan over high heat until it is reduced to a thick syrup, between 1/3 and 1/2 cup in volume (100 ml). Stir occasionally and keep a close eye on it towards the end. On my stove it takes about 40 minutes, but cook time will vary based on size of pan and temperature.
- Meanwhile, prepare your other ingredients. Line an 8-inch straight-sided square baking pan with 2 sheets of parchment. Cut the butter into chunks (1-inch cubes are good enough).
- When the apple cider is reduced, remove it from the heat and fish out the cinnamon stick and cloves. Slowly stir in the heavy cream until well combined, then stir in the butter, sugars, and salt.
- Return the pot to medium heat and let it boil, stirring often, until mixture reaches 250 °F (122 °C) on a candy thermometer. Keep a close eye on it. Once it boils and the liquid bubbles and starts rising, it takes between 3 and 5 minutes on my stove to reach the desired temperature.
- --> If you don’t have a thermometer cook the caramel until a tiny spoonful dropped into ice-water becomes firm but still able to be plied into a ball. If the caramel doesn’t reach 250 °F, it will stay soft (you can still use it as a spread, yummy!). On the other hand, if you cook the caramel beyond 250°F, it will get firmer the higher the temperature gets - up to a point where it is impossible to cut. Have I mentioned how handy a thermometer is?
- Immediately remove caramel from heat, stir it for 30 seconds to get rid of the bubbles and pour caramel into the prepared baking dish. Allow to rest at room temperature until caramel is set – about 2 hours (or faster in the fridge).
- Transfer the block to a cutting board, using the parchment paper sling. Oil a knife and cut the caramels into 1/2-inch stripes with a little space between them (they stick together easily). If the caramel sticks to the knife, put the block into the fridge for 10-15 minutes (or pop it into the freezer for 5 minutes). I find the caramel easiest to cut when cold.
- Cut each stripe into 0.5 to 1-inch pieces. Sprinkle with coarse salt if you like and wrap each caramel in wax or parchment paper.
- When stored longer, the salt tends to dissolve. So if you plan to wrap them, I’d suggest to omit the salt. If you don’t want to wrap them individually, you can store them in an airtight container with a slip of wax or parchment paper in between. I tend to store the container in the fridge since I like the caramels to be chewy and not too soft.
Did you follow this recipe You could share your result here. All you need to do is take a picture with your smartphone and send it to [email protected]

