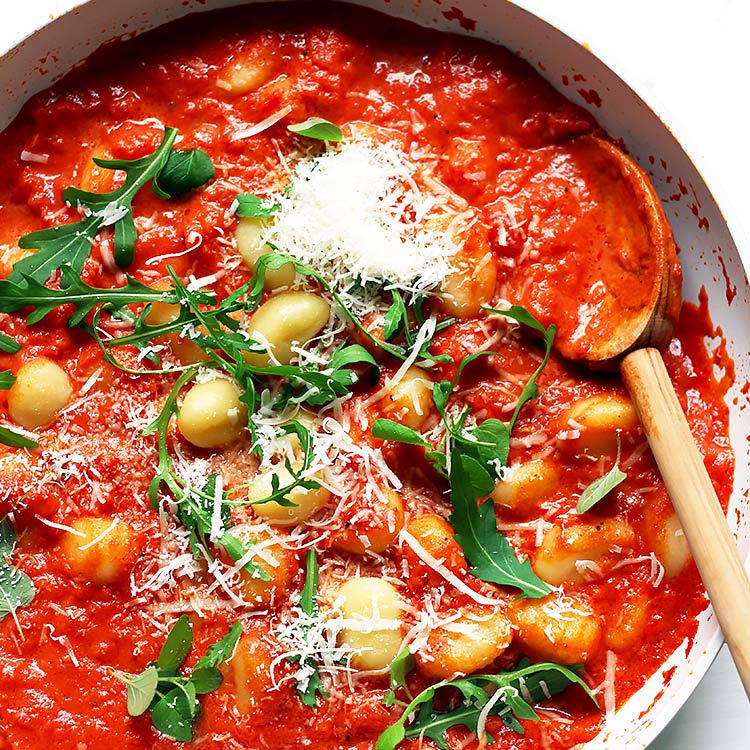
Don’t you love Paneer Tikka Masala, Palak Paneer or Paneer Butter Masala? Well, I do! Ever since I traveled to India a couple of years ago, cravings for the mentioned dishes seem to occur more often.
The key ingredient in all these dishes is the cheese: Paneer. Paneer is a type of a no-salt-added Indian fresh cheese that requires no ageing or culturing, thus it is very easy to make at home.
It’s basically just milk simmered on the stove and splashed with vinegar or lemon juice. Then you have to strain and press the resulting curds and voilà: Your homemade Paneer is ready. This is a recipe for 30-minute Paneer – everything included, even cooking the milk. Depending on how firm you wanna enjoy the paneer, you want to press it between 15 and 30 minutes – the longer, the firmer.
Step-by-step recipe for quick paneer
Heat the milk in a saucepan over medium-high heat, stirring occasionally in the beginning and all the time towards the end to make sure the milk doesn’t scald. I find a rubber spatula perfect for this job.
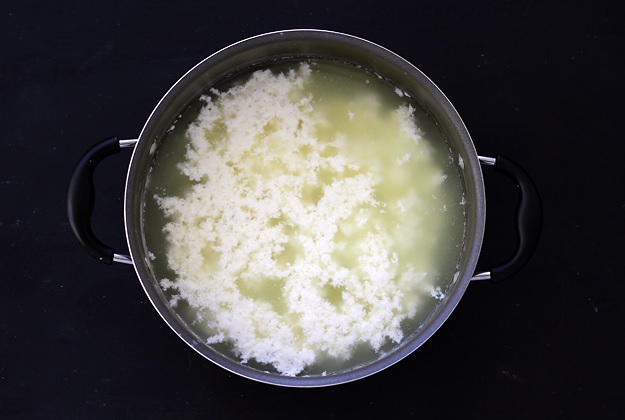
Once the milk has come to a boil, reduce heat to low and stir in the vinegar – the milk should begin to curdle immediately.
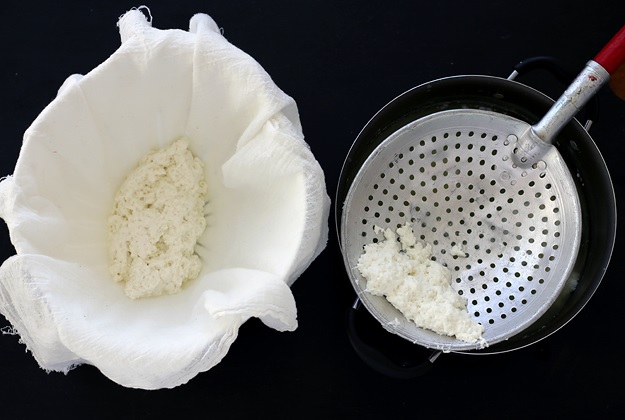
Place a colander in the sink and line it with several layers of cheesecloth or other straining cloth. Scoop or pour the curds into the colander. Rinse the curds with cold water to remove the vinegar-flavor (I don’t rinse the curds when using lemon juice. I like paneer with a hint of lemon.)
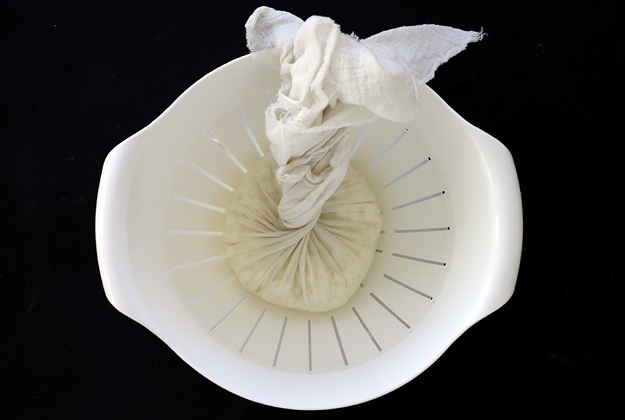
Bring all sides of the cloth together to create a bundle …
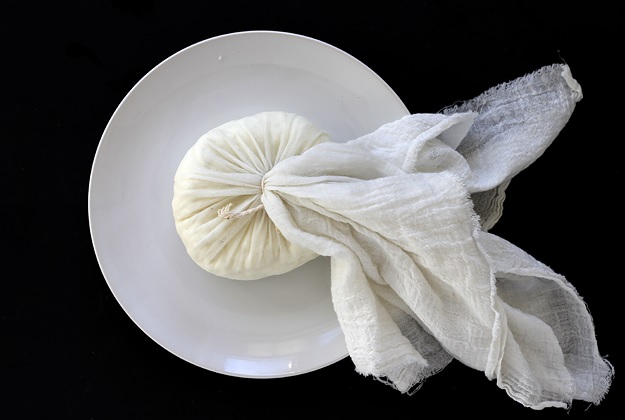
…. and tie it (or swirl it in itself). >> Find a close-up shot here.

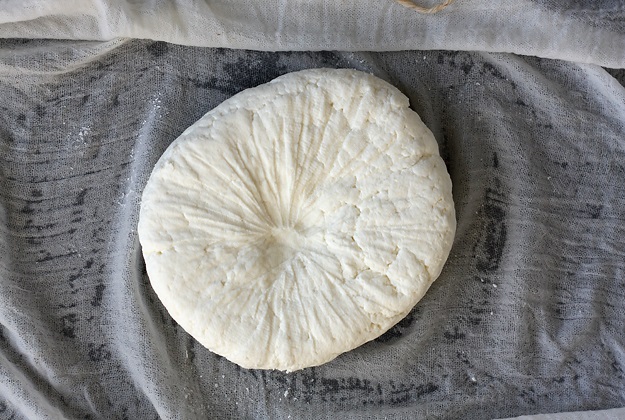
Place a cutting board in the sink. Put the paneer on top and set a second cutting board or plate on top of the package and weigh it down. I typically fill the pot I have cooked the milk in with water for this (pot including water are 3 kg / 6½ lbs). I also do place a spoon (or anything else) between sink and lower cutting board to get the board crooked and ease the drainage of whey. >> Here is a pic how this looks like in the real world, outside the food-blogoshere… (and instead of the can imagine a water-filled pot)
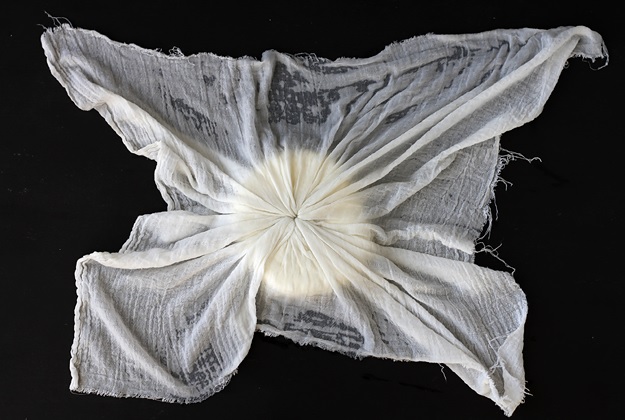
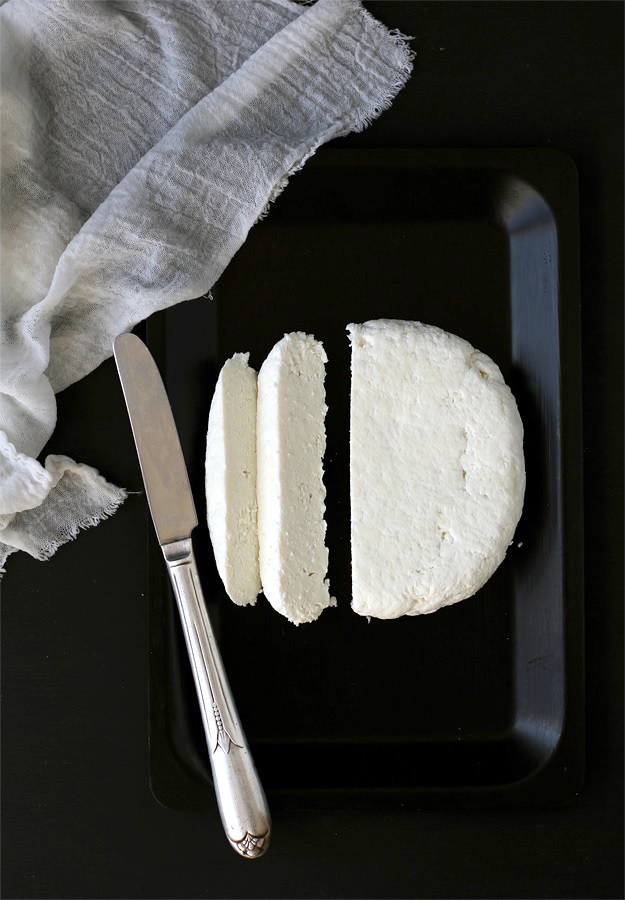
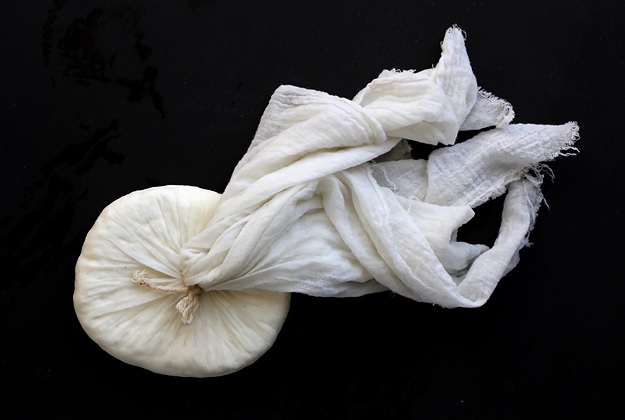
Press for at least 15 minutes or up to 1 hour. (Picture: Cheese after 30 minutes pressing.)
In my opinion 20-30 minutes results in a perfectly firm paneer.
Paneer after 30 minutes pressing.
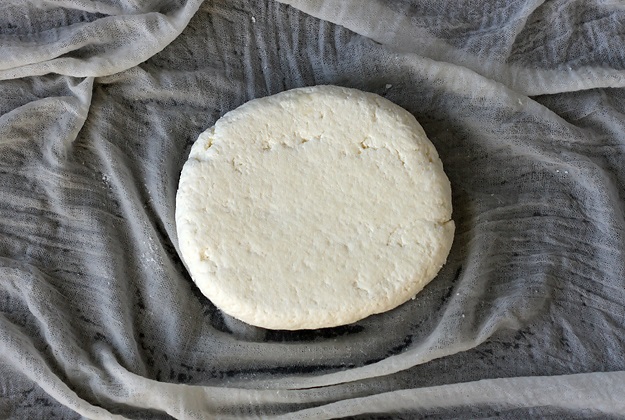
Paneer after 30 minutes pressing (bottom side up).
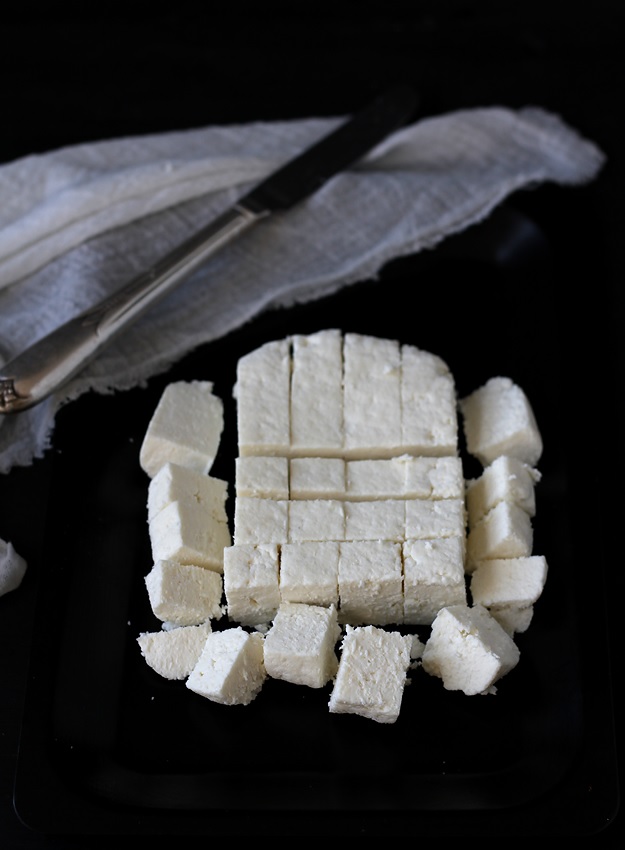
Once pressed, the paneer is ready to use. Use right away, or refrigerate for up to 2 days or store it in water in the refrigerator for up to 1 week, replacing the water every other day.
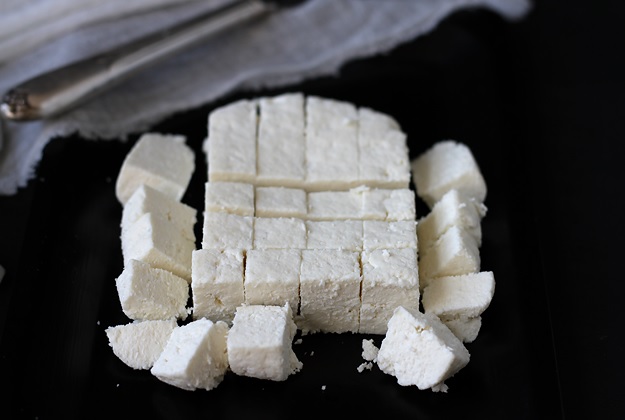
Paneer is usually cut into 1/2-inch cubes and added to curries and other Indian dishes.


This recipe for 30-minute Paneer only requires 2 ingredients and is easy to make at home. Paneer is usually cut into 1/2-inch cubes and added to curries and other Indian dishes.
Ingredients
- 6 ¼ cups (1.5 liters) whole milk (2%-milk also works)
- 3 tablespoons (45 ml) white wine vinegar or freshly squeezed lemon juice
Instructions
- Heat the milk in a saucepan over medium-high heat, stirring occasionally in the beginning and all the time towards the end to make sure the milk doesn't scald. I find a rubber spatula perfect for this job.
- Once the milk has come to a boil, reduce heat to low and stir in the vinegar - the milk should begin to curdle immediately. Remove the saucepan from the heat and cover with a lid for 5 minutes. If the milk doesn’t separate, add another tablespoon of vinegar while the milk is still simmering.
- Place a colander in the sink and line it with several layers of cheesecloth or other straining cloth. Scoop or pour the curds into the colander. Rinse the curds with cold water to remove the vinegar-flavor (I don’t rinse the curds when using lemon juice. I like paneer with a hint of lemon.)
- Bring all sides of the cloth together to create a bundle and tie it (or swirl it in itself).
- Place a cutting board in the sink. Put the paneer on top and set a second cutting board or plate on top of the package and weigh it down. I typically fill the pot I have cooked the milk in with water for this (pot including water are 3 kg / 6½ lbs). I also do place a spoon (or anything else) between sink and lower cutting board to get the board crooked and ease the drainage of whey.
- Press for at least 15 minutes or up to 1 hour. In my opinion 20-30 minutes results in a perfectly firm paneer.
- Once pressed, the paneer is ready to use. Use right away, or refrigerate for up to 2 days or store it in water in the refrigerator for up to 1 week, replacing the water every other day.
- Paneer is usually cut into 1/2-inch cubes and added to curries and other Indian dishes.
Did you follow this recipe? You could share your result here. All you need to do is take a picture with your smartphone and send it to [email protected]
I’ve never tried Paneer, but you sure make a tempting case for it! Great stuff :D
Thanks Vanja. You should try it! It’s so easy and soooo good ;-)
Hi, in our country, the Philippines, the equivalent of paneer is made from carabao’s milk. but sad to say, carabao’s milk is hard to find in the market nowadays. I will try your vesion of paneer using fresh milk. btw, i also made your easy no-yeast naan bread and it’s delicious. Thank you.
Hi Marianita! How interesting, I wasn’t aware of that (even though I visited the Philippines). So great that you tried the Naan recipe already ;-)) Yes, try the paneer, I really love curries with it. Hope it turns out as nice as the naan!
For a better paneer, use yoghurt instead of Vinegar or Lemon. The last two give paneer an acrid taste whereas the youghurt produces more curds and gives the paneer a sweeter taste.
Hey doc,
I didn’t know that! Thanks so much for the tip. I’ll try it the next time :-)
Amazing recipe thank you, i wanted to post a pic but couldn’t
Hi Lesley,
Happy to hear that it worked out well for you! Uploading the photo yourself unfortunately is not possible since this would slow down the site very much. You can send me a photo if you like (to: [email protected]), I will downsize it and upload it on the blog, if you like. Always happy to see food pics :) Ursula